
The first thing you need to know about drummy tile repair is that it’s not as simple as just slapping some glue on the crack and calling it a day. You need to know what you’re doing if you want to get the job done right, and that’s why we’ve put together this step-by-step guide for you.
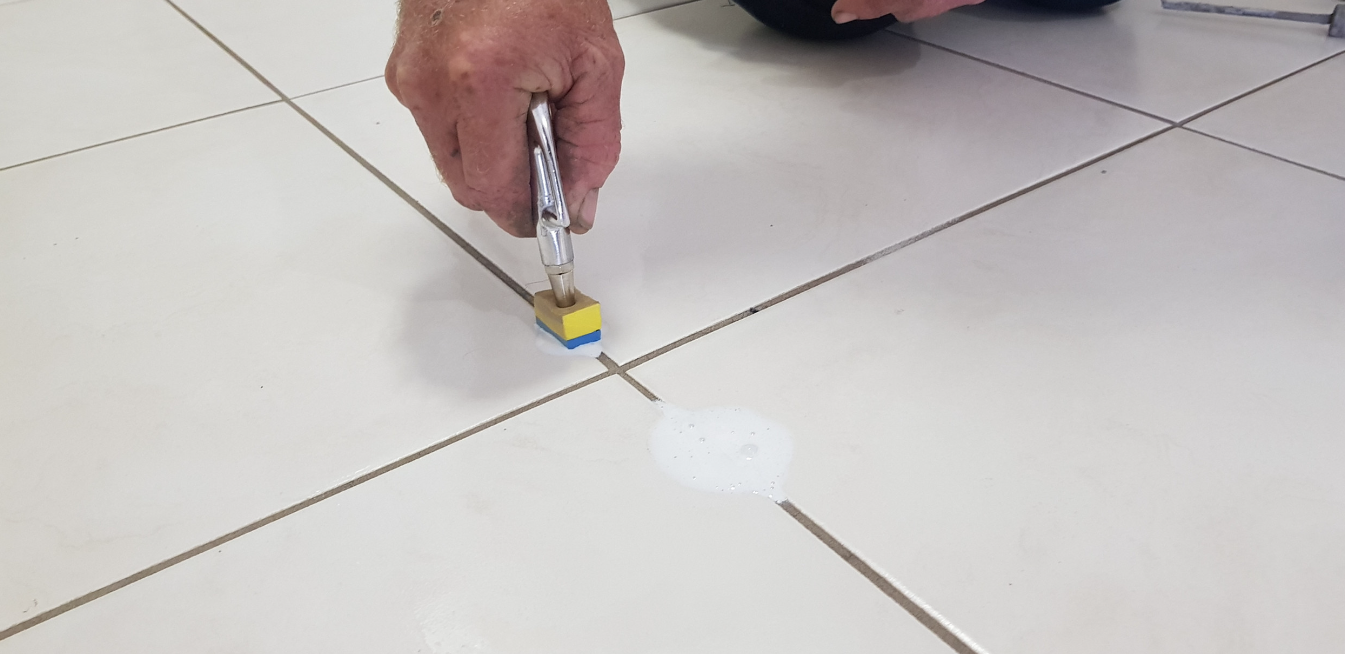
1) Clean the crack with soap and water.
2) Make sure both sides of the crack are dry before proceeding.
3) Apply a thin layer of glue over the entire crack and let it dry overnight.
Mix up some water with your favourite beverage (beer, wine, or whiskey), dip your fingers in it, then rub them on your face so they look like they’re dripping with sweat this will make it appear like someone’s been working hard on this project and if anyone asks why there are fingerprints on your face, tell them it’s because you were working too hard.
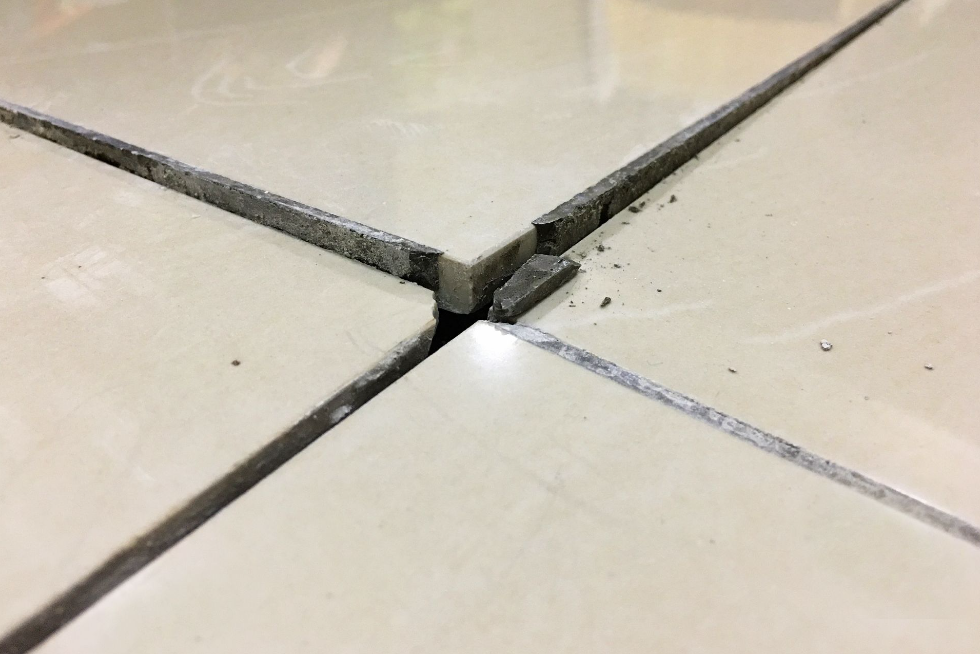
Drummy Tile Repair
Drummy tile repair is a great way to ensure that your tile is in good condition without having to replace it. If you have a cracked tile or one that has been chipped, cracked or damaged in some way, you can use this method to fix it. The process is easy and takes only a few minutes.
Prepare the Area
Before starting on your project, make sure that you have all of the supplies needed and that you have prepared an area in which to work. You will need a grinder, rubber gloves, masking tape and paper towels. You may also want to use a dust mask if you are working with cement-based tiles.
The grinder can be used on most types of drummy tiles but not those made with porcelain or clay materials because they would break apart when ground down too much. If there are several cracks on one tile then it will take more time than usual for them all to dry before applying another coat of mortar over them
However, if there are only two or three small cracks then it should be done within an hour or two after grinding away all of the old mortar from between them.
CONCLUSION
Use an electric sander with medium-grit sandpaper for drummy tile repair to smooth out any areas on which there were chips in the grout lines or where there were gaps between tiles. Be sure not to apply too much pressure or you’ll make things worse and potentially damage your tile.
For more information visit our website!