
Install roof shingles are a great way to protect your home from the elements while also enhancing its overall appearance. However, it can be a daunting task for those who have never done it before. In this article, we’ll provide a step-by-step guide on how to install roof shingles and ensure that you get the job done right.
Prepare Your Roof for Shingle
Installation Before you begin, you need to prepare your roof for shingle installation. This includes removing any old shingles, repairing any damaged areas, and cleaning the surface. Make sure you have all the necessary tools and materials before you start.
Install the Underlayment
The underlayment is a protective layer that goes on top of the roof deck before the shingles are installed. It helps to prevent water from seeping through the roof and causing damage to the interior of your home. Install the underlayment according to the manufacturer’s instructions, making sure to overlap the edges and nail it securely in place.
Install the Drip Edge
The drip edge is a metal flashing that goes along the edges of the roof to prevent water from seeping underneath the shingles. Install the drip edge along the eaves first, then along the gables. Make sure to nail it securely in place.
Lay the Starter Course
The starter course is a row of shingles that goes along the eaves of the roof. It helps to provide a secure base for the rest of the shingles to be installed. Lay the starter course according to the manufacturer’s instructions, making sure to nail it securely in place.
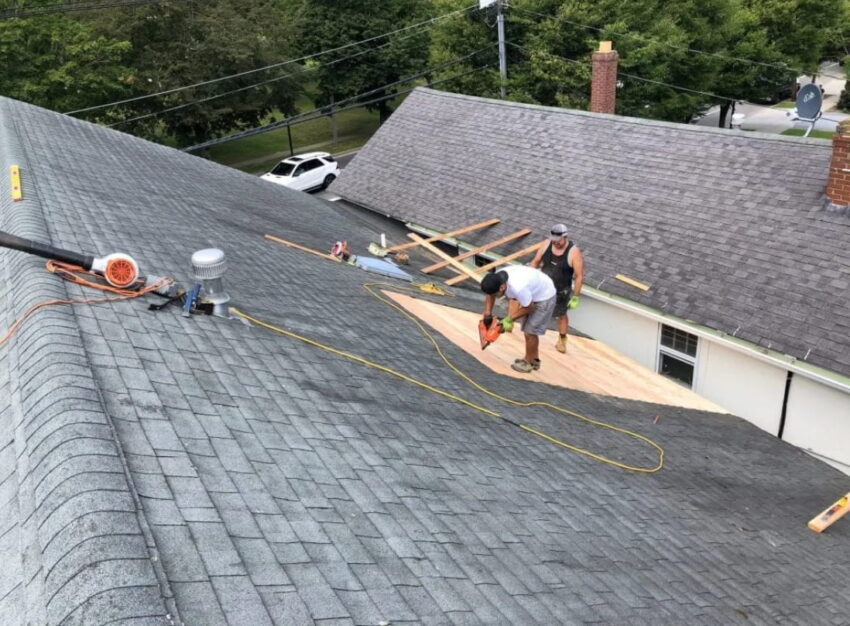
Install the Shingles
Now it’s time to install the shingles. Start at the bottom of the roof and work your way up. Lay each shingle according to the manufacturer’s instructions, making sure to nail it securely in place. Make sure each row is offset from the previous row to prevent water from seeping through.
Install the Ridge Vent
The ridge vent is a ventilation system that goes along the peak of the roof. It helps to prevent moisture buildup and prolong the life of your roof. Install the ridge vent according to the manufacturer’s instructions, making sure to nail it securely in place.
Conclusion:
Install roof shingles are a challenging task, but by following these steps, you can ensure that you get the job done right. Remember to prepare your roof, install the underlayment and drip edge, lay the starter course, install the shingles, install the ridge vent, and clean up.
Related Source: Roof Replacement Kingston