
Tiles are a beautiful and practical addition to any home, but when they crack or break, it can be a source of frustration. Whether it’s due to wear and tear, improper installation, or other factors, replacing cracked tiles is a task that many homeowners may face at some point. Here, we will walk you through the steps involved in replacing tiles to help you restore the beauty of your space.
Importance of Timely Tile Replacement
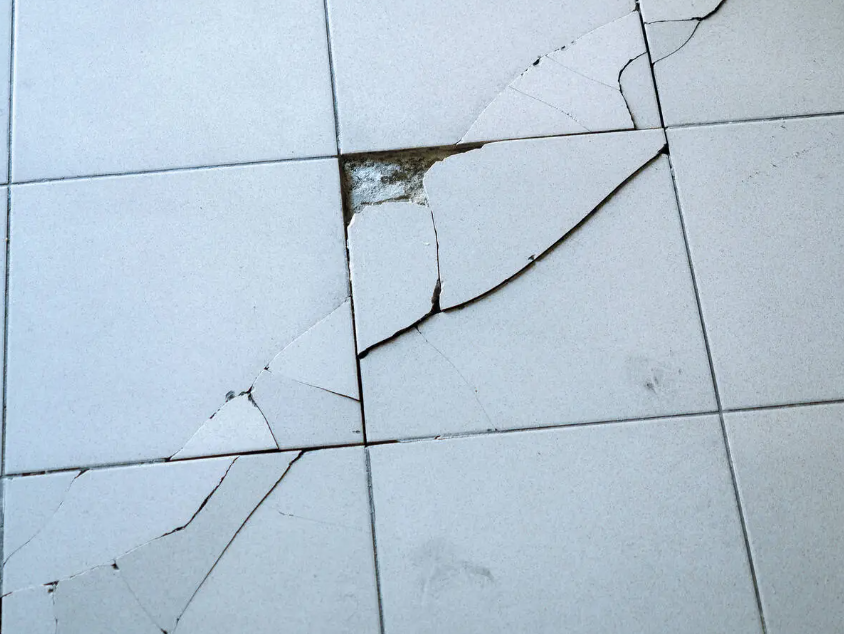
When you notice cracked or broken tiles in your kitchen, bathroom, or any other area of your home, it’s essential to address the issue promptly. Ignoring damaged tiles can not only detract from the aesthetics of your space but also lead to more significant problems such as water damage or further tile breakage.
Assessing the Damage
The first step in the replacing of broken tiles process is to assess the extent of the damage. Carefully inspect the affected area to identify all cracked or broken tiles that require replacement. Look for hairline cracks, chips, or completely shattered tiles. This thorough assessment will help you determine the quantity of replacement tiles needed and plan the project accordingly.
Gathering the Necessary Tools and Materials
Before diving into the tile replacement project, gather all the tools and materials required for the job. You will typically need items such as a hammer, chisel, putty knife, adhesive, grout, replacement tiles, and safety gear. Ensuring you have everything on hand before starting will streamline the process and prevent unnecessary delays.
Installing the Replacement Tiles
With the damaged tile removed and the area prepped, it’s time to install the replacement tile. Apply adhesive to the back of the tile and press it firmly into place, ensuring it is level with the surrounding tiles. Allow the adhesive to dry according to the manufacturer’s instructions before grouting the tile to finish the look seamlessly.
Finishing Touches and Maintenance Tips
Once the replacement project is complete, apply grout to fill the gaps between the tiles and wipe away any excess. Allow the grout to set properly before using the tiled area. To maintain the newly replaced tiles, regularly clean them with a mild detergent and avoid using harsh chemicals that could damage the tile surface.
Conclusion
In conclusion, replacing cracked tiles is a manageable task that can refresh the appearance of your home and prevent further damage. By following the steps and acting promptly when issues arise, you can maintain the beauty and functionality of your tiled spaces. Remember, addressing cracked tiles promptly is key to preserving the integrity of your surfaces and ensuring a long-lasting tile installation.