
As someone who’s spent countless hours knee-deep in home improvement projects, I’ve come to realize the importance of doing things right, especially when it comes to your floors. Having worked in construction and home renovation for over a decade, my weekends are often filled with fixing, tweaking, or completely overhauling some part of my or my friends’ houses. Among the variety of challenges I’ve faced, replacing cracked tiles stands out as both a common and delicate task. Not only does it require precision and patience, but it also demands a certain finesse to ensure that the rest of your floor remains impeccable.
In this guide, I’ll walk you through the process of replacing cracked tiles effectively, ensuring you avoid the common pitfalls that might damage your floor further. Whether you’re a seasoned DIY enthusiast or tackling home repairs for the first time, understanding the importance of replacing cracked tiles properly is crucial for maintaining the integrity and beauty of your home.
Understanding the ProblemWhy Tiles Crack
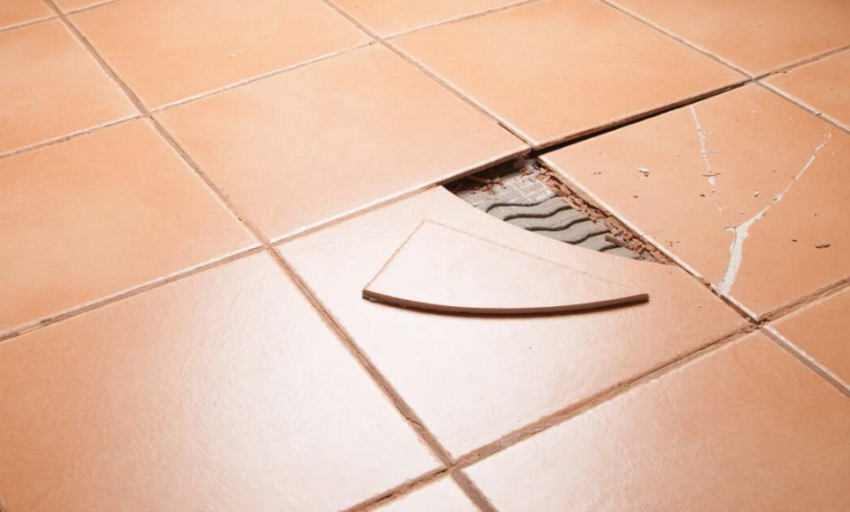
Tiles can crack due to a variety of reasons, ranging from heavy impact and improper installation to fluctuations in temperature and moisture under the floor. Unaddressed, these cracks can not only become eyesores but also weaken the structural integrity of your flooring, leading to more significant problems over time.
The Risks of Ignoring Cracked Tiles
Leaving cracked tiles unrepaired can lead to moisture seeping through, causing mold and mildew to flourish underneath your flooring. This can pose health risks and result in more extensive and expensive repairs down the line.
Tools and Materials Needed
Before diving into the repair process, ensure you have the following tools and materials on hand:
- Replacement tile(s)
- Grout saw or utility knife
- Chisel and hammer
- Tile adhesive
- Notched trowel
- Grout
- Sponge and bucket
- Safety glasses and gloves
Step-by-Step Process
1. Removing the Cracked Tile
Carefully use the grout saw or utility knife to remove the grout around the damaged tile. Once the grout is cleared, gently chisel out pieces of the tile, being mindful not to apply too much force to avoid damaging adjacent tiles.
2. Preparing the Area
Once the tile and adhesive are removed, clean the area thoroughly, ensuring it’s free from debris and dust. This prep work is crucial for the new tile to adhere properly.
3. Installing the New Tile
Apply tile adhesive to the back of the new tile using the notched trowel, and then carefully place it into the gap. Press down firmly but gently to ensure a good bond without displacing the adhesive excessively.
4. Grouting the Tile
After allowing the adhesive to set (follow the manufacturer’s recommended timing), apply grout around the new tile, filling in all the spaces to secure the tile fully and ensure it matches the rest of your floor.
Tips for Avoiding Damage
- Always wear safety glasses and gloves to protect yourself.
- Work slowly and patiently when removing the old tile and grout to minimize the risk of damaging adjacent tiles.
- Make sure the replacement tile matches the existing flooring to maintain a cohesive look.
When to Call a Professional
While many home repair tasks are accessible for DIY enthusiasts, there are times when calling in a professional is the best course of action. If the damaged area is extensive, if the flooring requires specialized tools or knowledge, or if you’re simply not comfortable tackling the repair yourself, don’t hesitate to call a professional. Their expertise can save time, ensure the job is done right, and possibly prevent further damage.
By following this guide, you should feel more confident in tackling the task of replacing a cracked tile, preserving the beauty and integrity of your flooring for years to come.